-
No matter which set up is chosen for a contract, the method to add, edit or delete Items from an IDR is the same.
- Tap the Items tab
- Tap the Add button in Items toolbar

Figure 83 - Items toolbar
- On the Add IDR Item page, select the Pay Item field to access Pay Items form
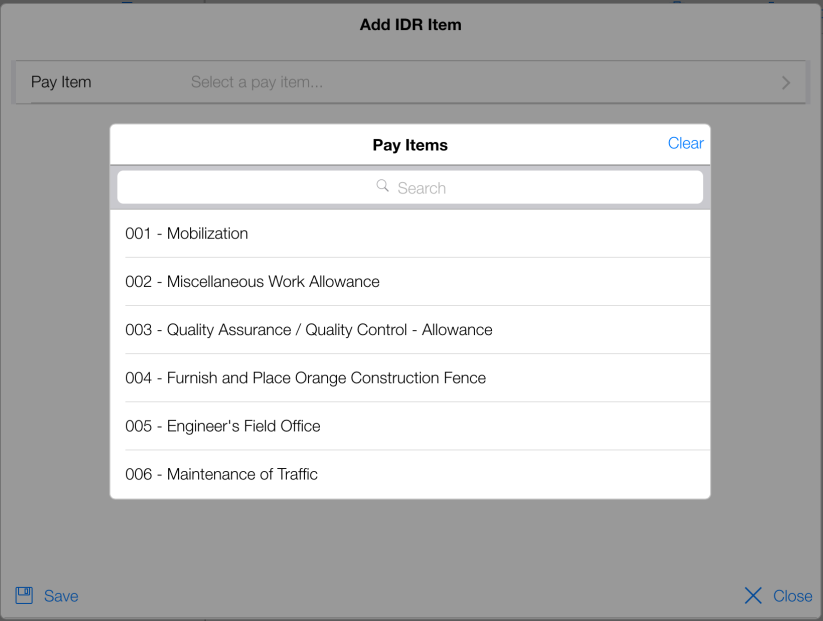
Figure 84 - Select Item from list
Note: You can click the Search bar and quickly filter down the list with a key-in of a portion of the pay item's number or description.
The IDR Item Editor is divided into four separate tabs.
- Usage - The Usage tab provides fields for documenting the item usage on the IDR.
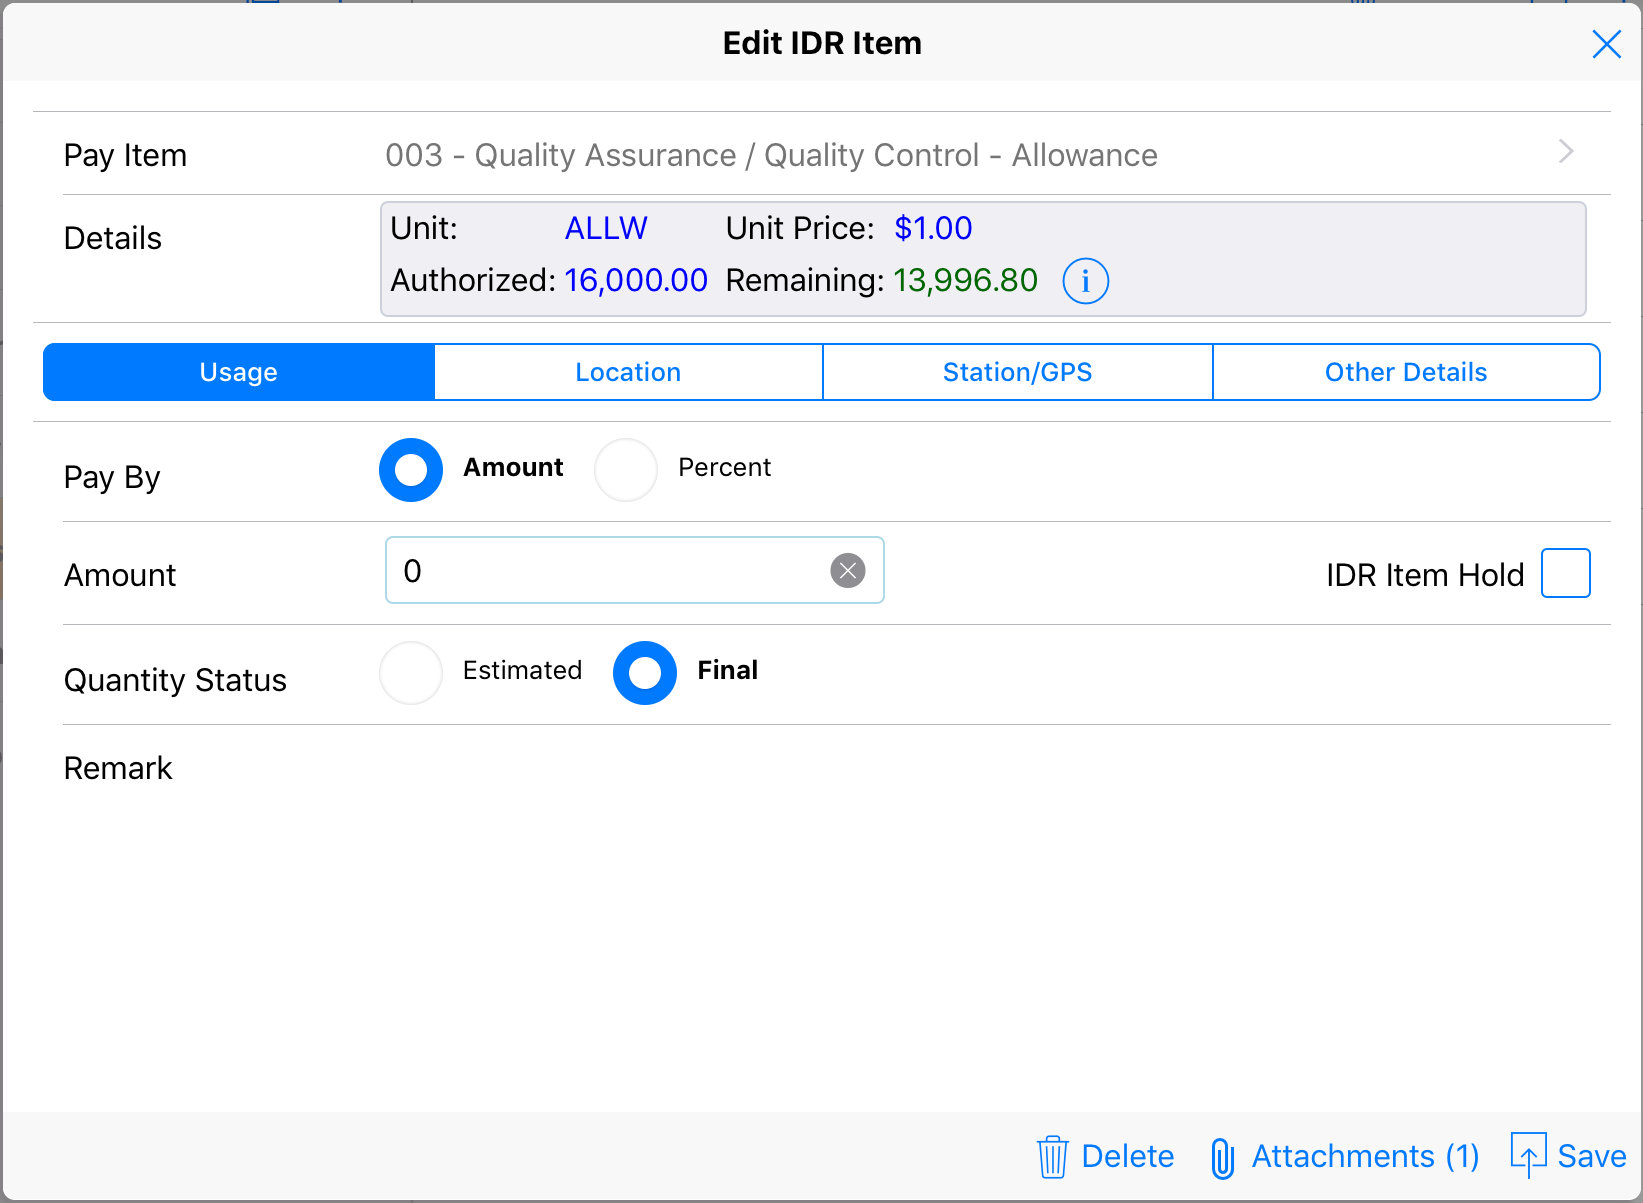
Figure 85 – Usage Tab
- Pay By: This option is available in the contract/project has been configured to accept percentage based quantities. By default, only quantities can be entered.
- Quantity/Amount/Percent: Depending on the contract/project configuration one of the three labels may be displayed. Use the field to enter in the usage of the item.
Note: This field is REQUIRED to save the IDR Item. If a quantity has not been used, enter a quantity of zero (0).
- IDR Item Hold: Tap this check box to indicate payment for this item will be held. When the field is checked an additional drop down list will be displayed allowing you to select the IDR Hold Reason. This list is pre-filled with common reasons, if the actual reason is a not available you may enter a custom reason in the field provided.
- Quantity Status: Indicate if the quantity is estimated vs. final.
- Remark: Use this field to enter remarks about the item's usage.
- Location - The Location tab allows you to enter additional location related data or select from predefined locations set by the OE/PE/RE.
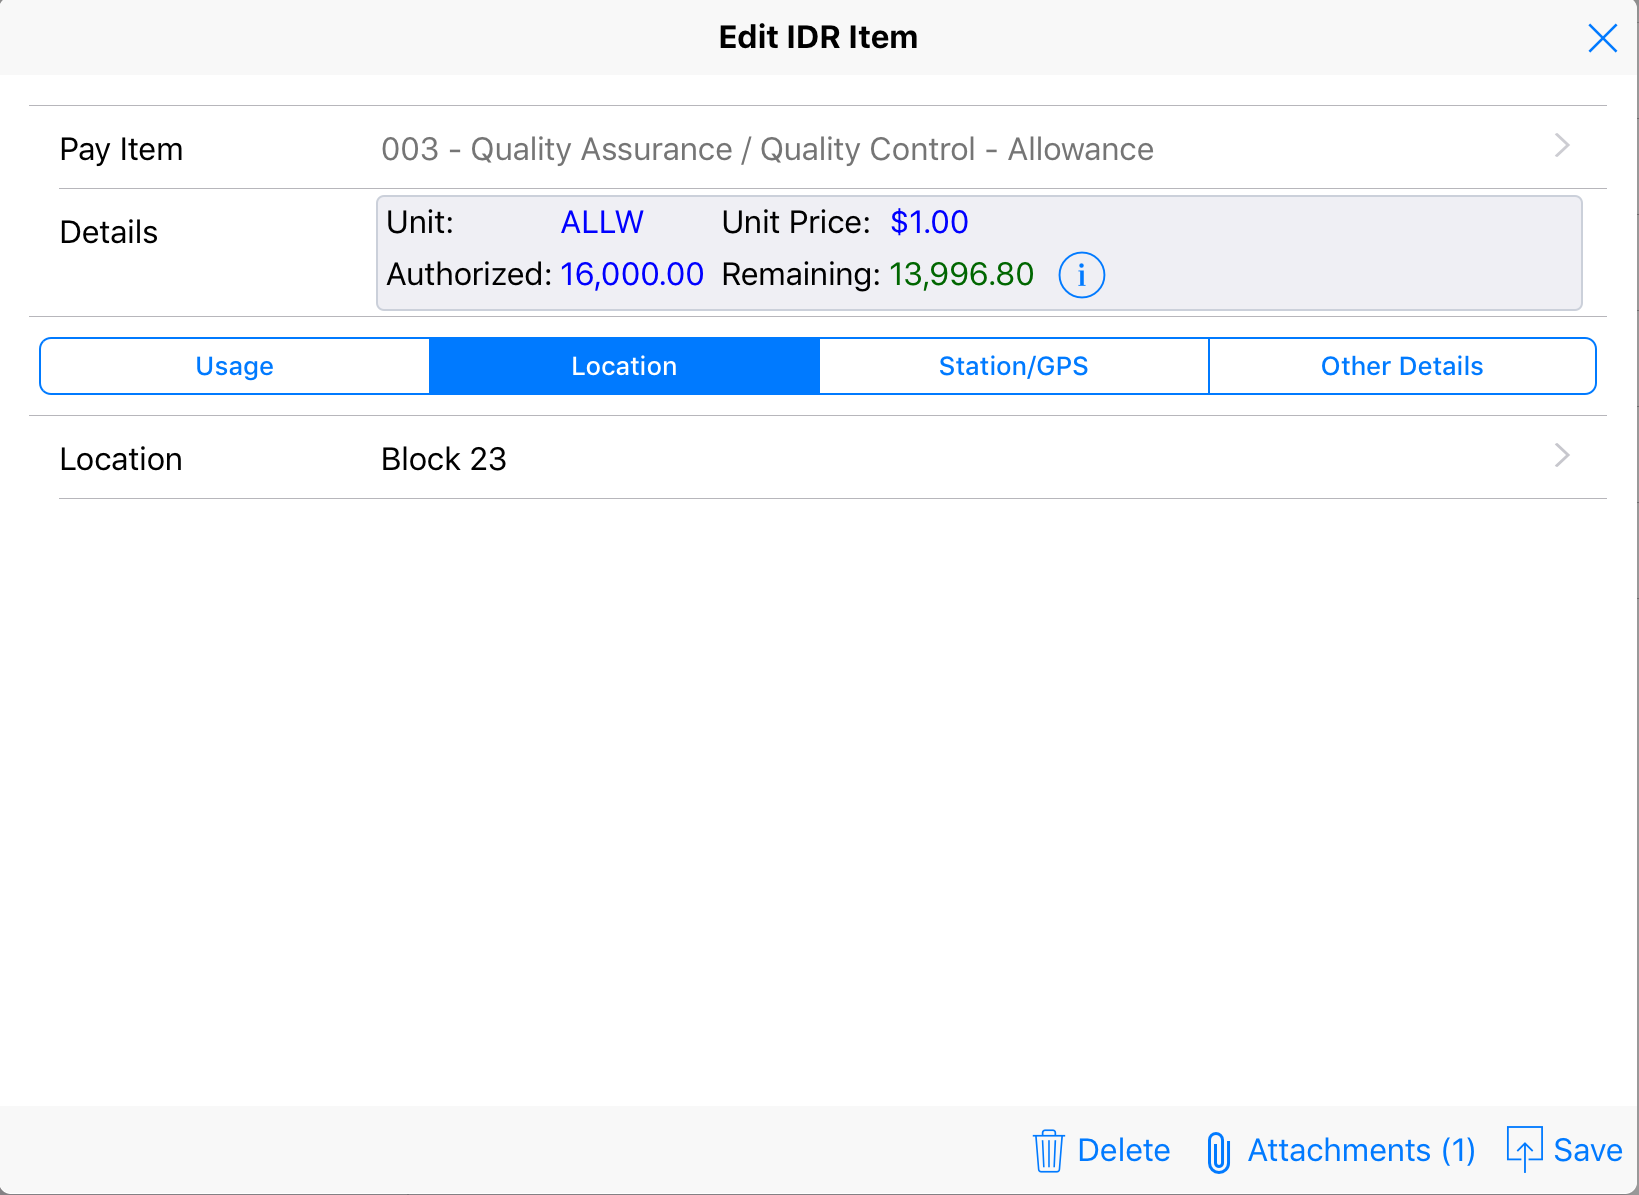
Figure 86 – Location Tab
- Station/GPS - This tab allows you to enter data related to Baseline Stationing and GPS. (None/Single/Range
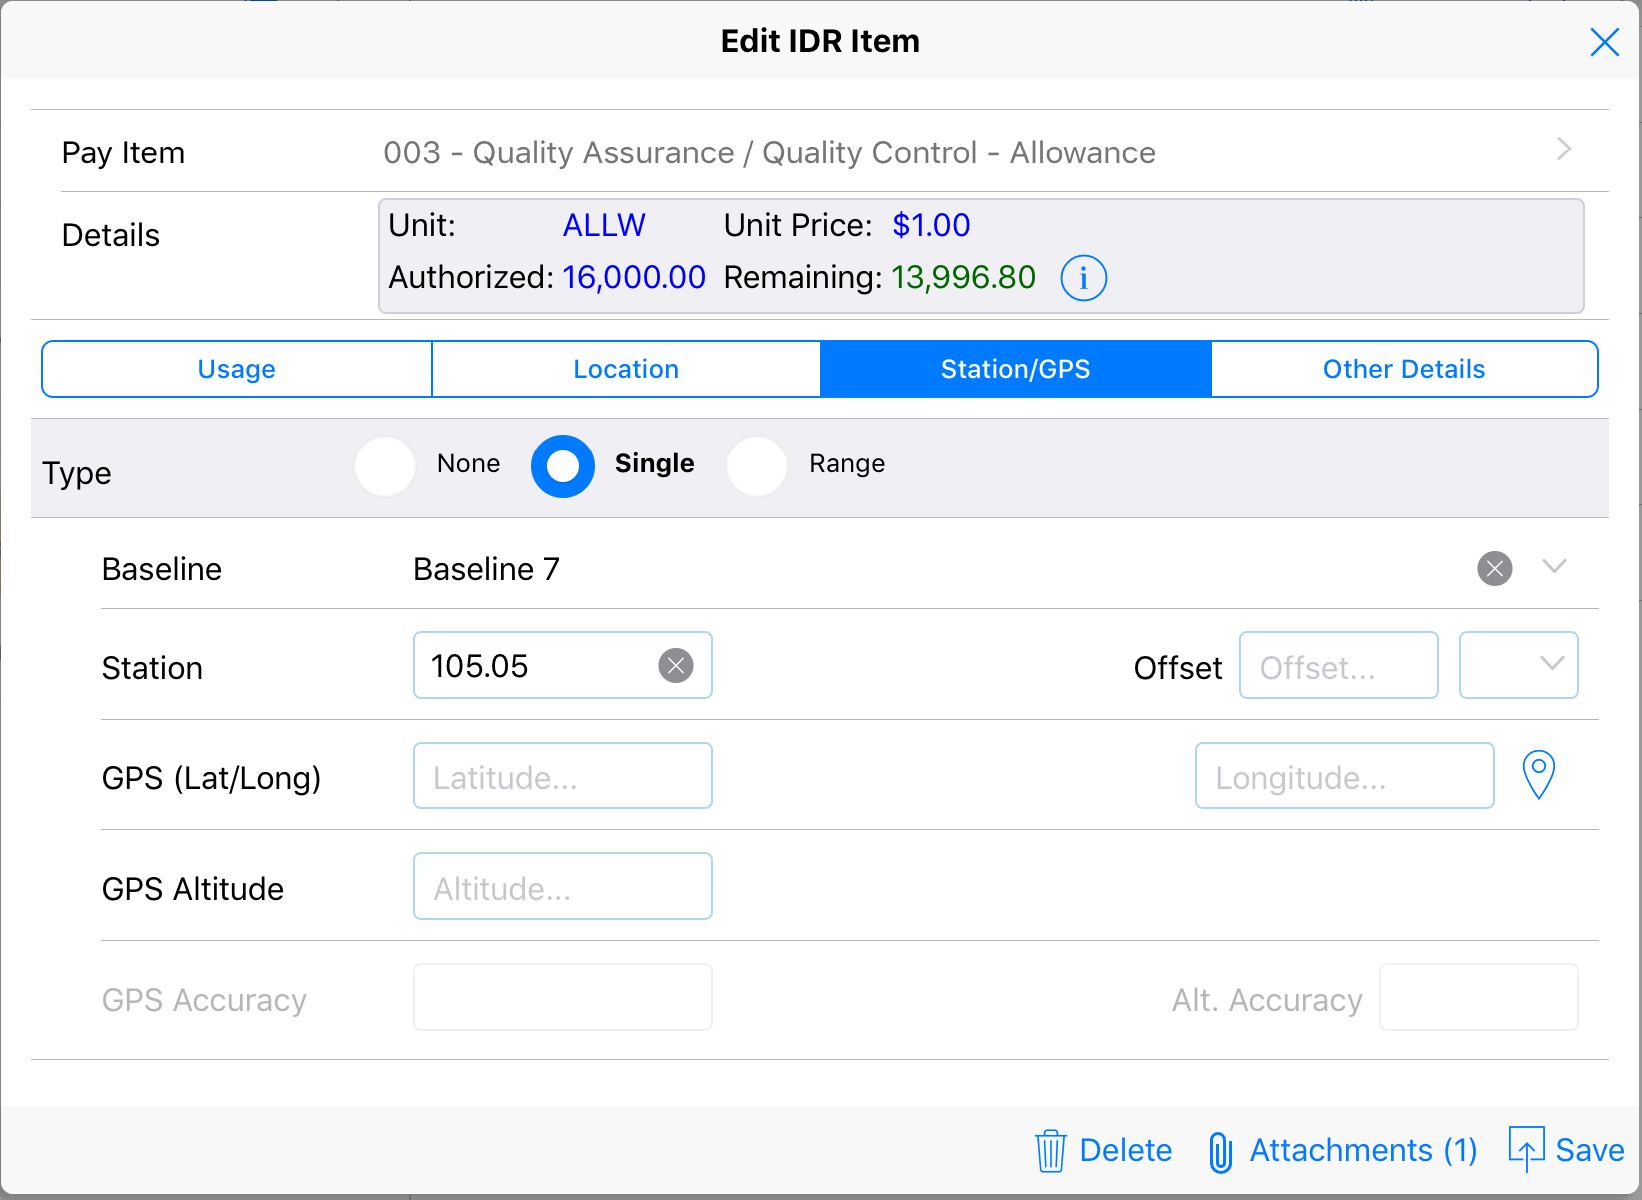
Figure 87 – Station/GPS Tab
- Type: Use this field to select the type of stationing being entered.
- Baseline: Use this field to select or enter a baseline.
- Station: Enter the station number. Note: Do not enter the (+/-). The offset field will calculate the sign.
- Offset: Enter the offset number and select the direction (Rt vs. Lt).
- Location Button: Use the locater button to load the mapping form to capture current location details.
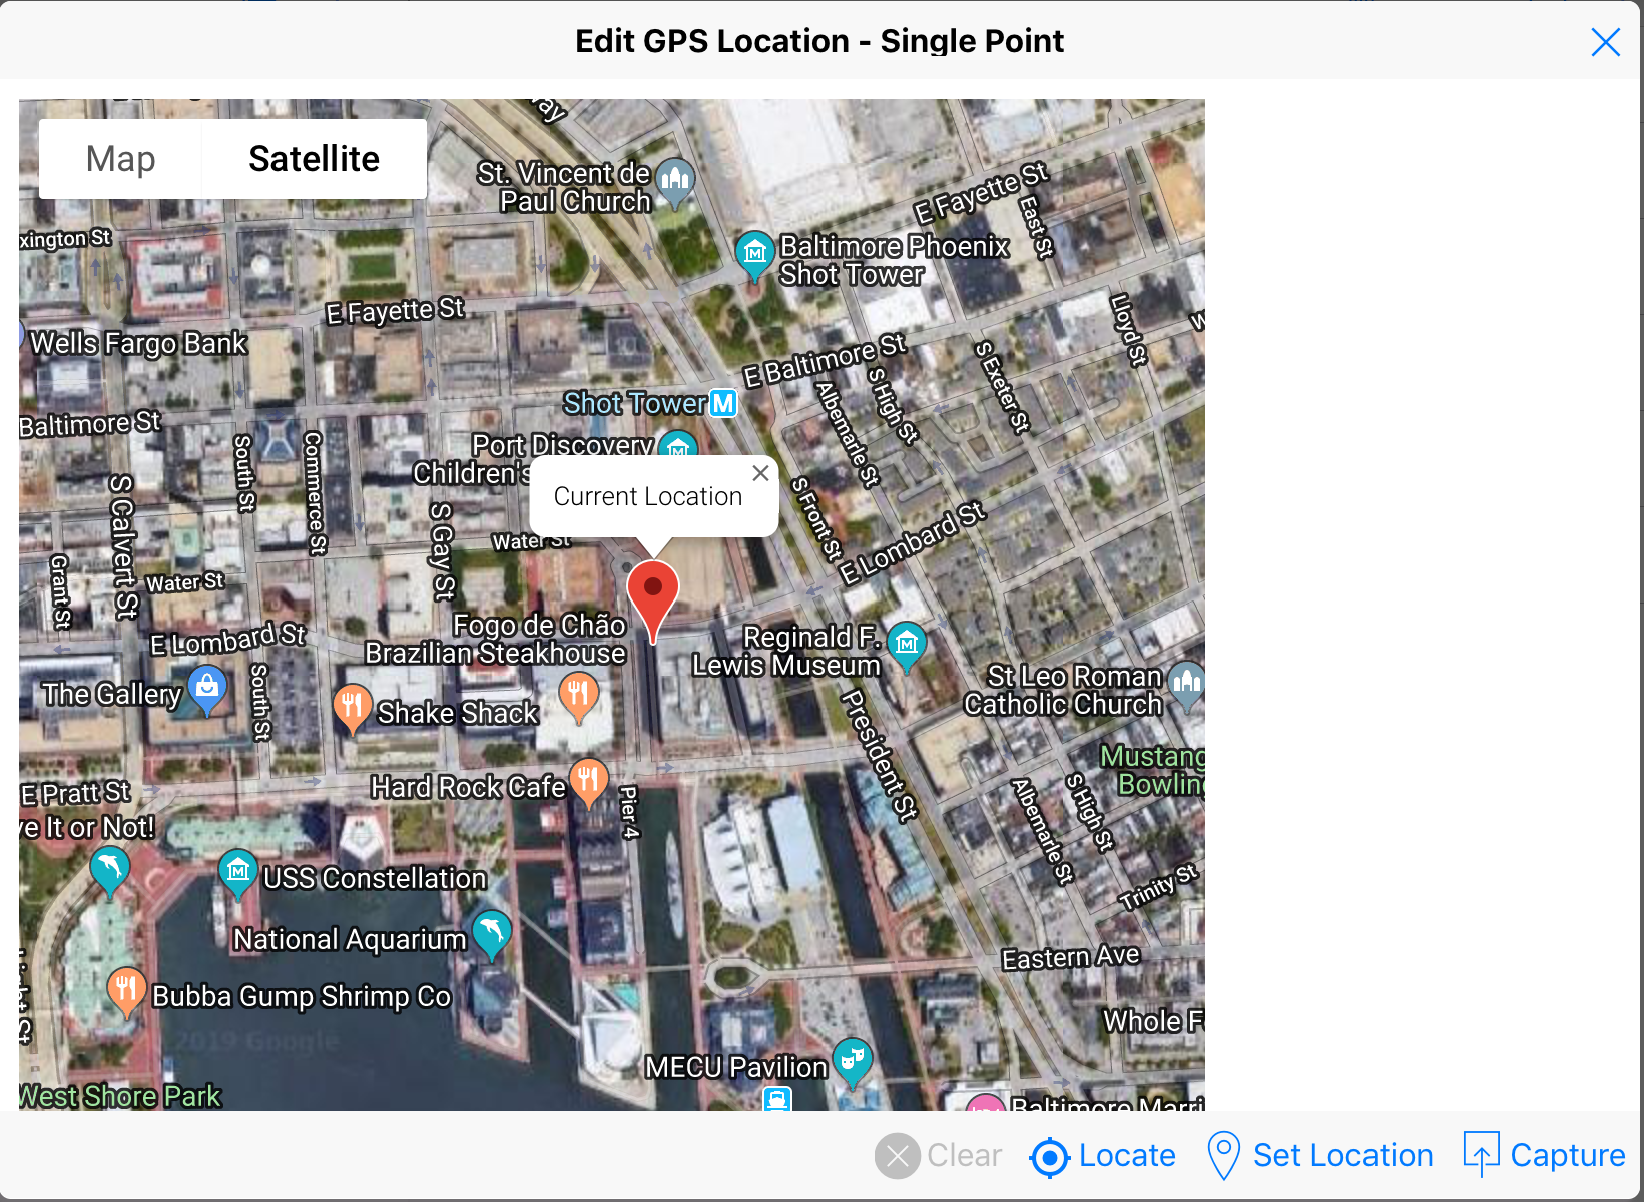
- Clear: Clears the location marker and current location data in the map.
- Locate: Tap this button to use the devices GPS to acquire your current location.
- Set Location: Tap this button to explicitly set the location marker on the map.
- Capture: Tap this button to capture/save the location marker data for the IDR item. (The GPS fields will be filled).
- Other Details - This tab allows you to enter optional data points for the IDR Item.
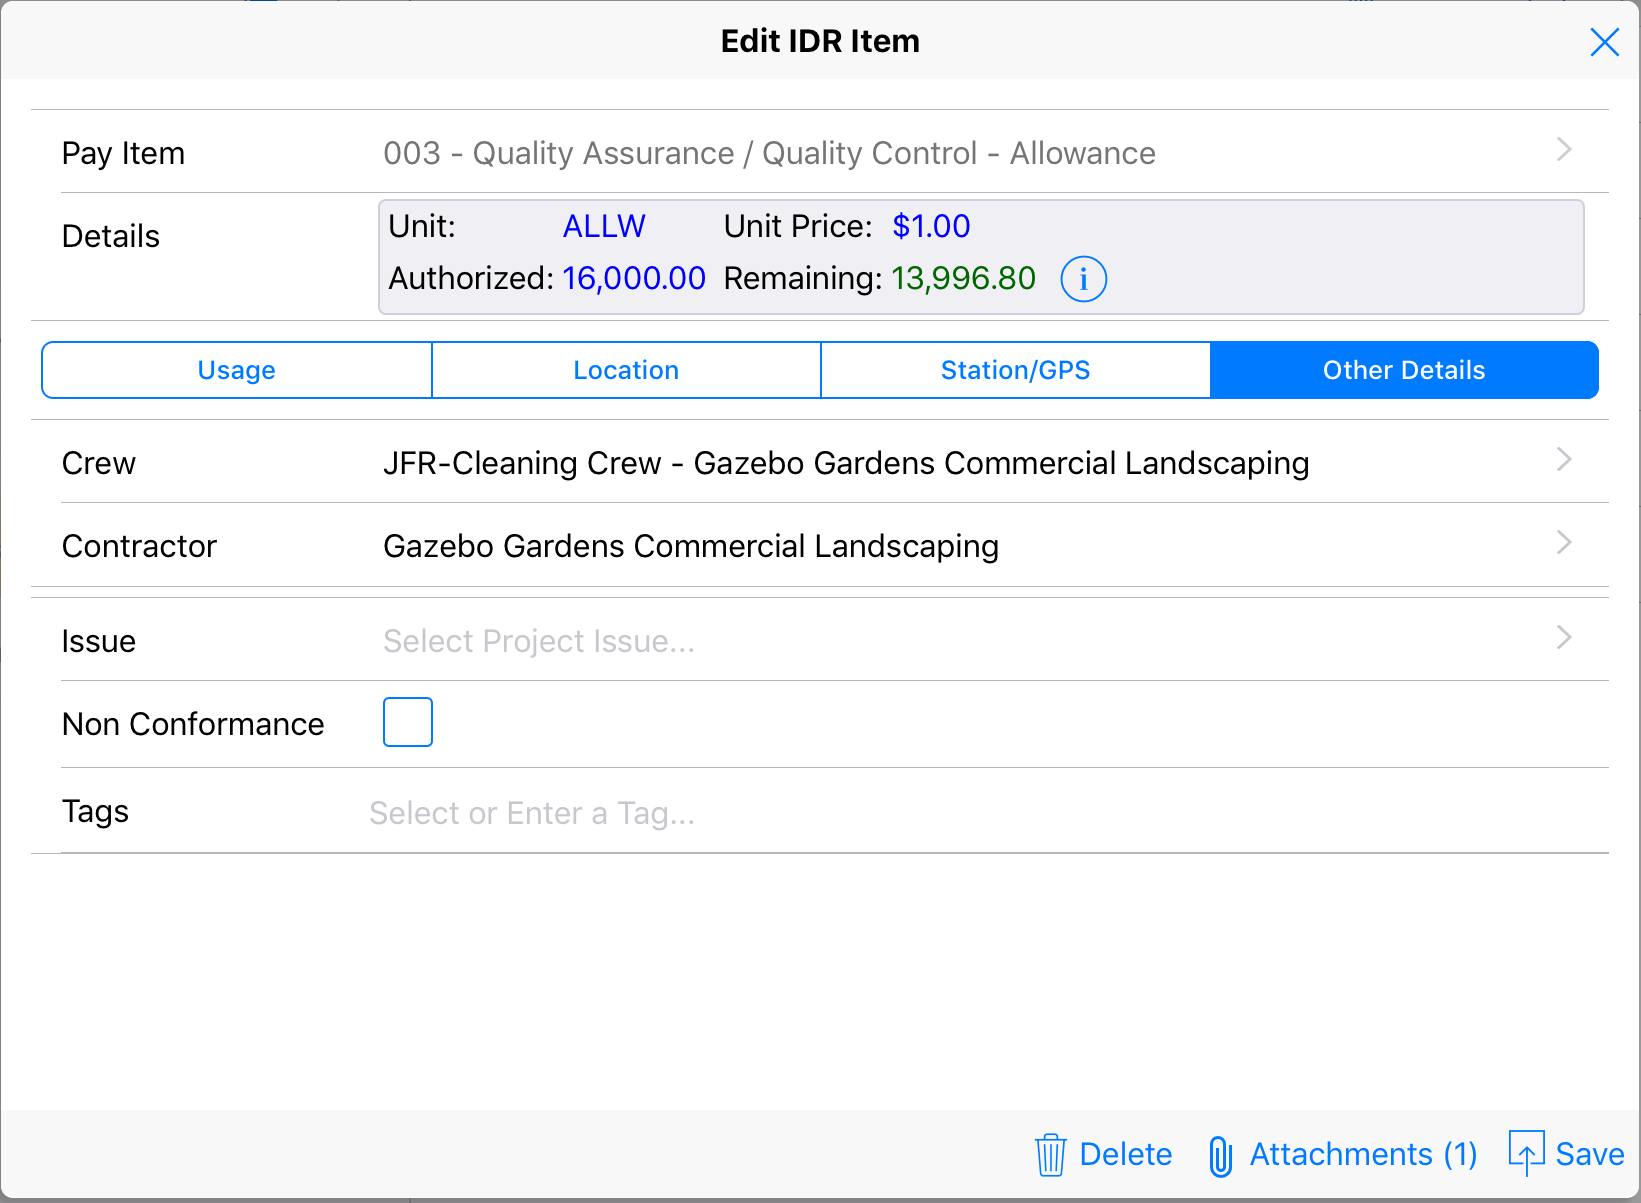
- Crew: Select the crew used for working with the IDR item.
- Contractor: The contractor associated with the crew.
- Issue: Optionally select/tag a project issue.
- Non Conformance: Check this box if the worked performed falls under the Non-Conformance guidelines.
- Tags: Select or enter tags for the IDR item.
- Tap Save
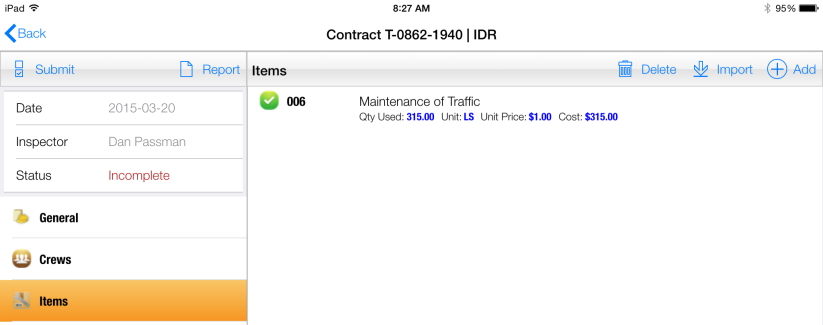
Figure 88 – IDR Item record successfully added
Note: Once the IDR Item is saved, you can optionally link one or more attachments to the record.